Home / Guides / How to make a coloring book for KDP, step by step
How to make a coloring book for KDP, step by step
Facts checked 2026-11-16. Published by Low Content Studio, which is not affiliated with Amazon.
What you are actually making
A KDP paperback is three separate deliverables. The first is an interior PDF, where every page is the size of your trim plus any bleed. The second is a cover PDF, a single wide page that wraps the back cover, the spine and the front cover. The third is the listing: title, subtitle, description, seven keywords, categories and a handful of declarations, among them whether AI tools produced the text or images. Most first-time publishers underestimate the second and third. The art takes the most effort, but the cover math and the declarations are where uploads get rejected or delayed.
A coloring book is also one of the easier books to get technically right, because the content is simple: black outlines on white paper, no color management, no text flowing between pages. That simplicity lets you spend your time on the part readers judge, which is whether the pages are different from each other and pleasant to color.
Step 1: choose an audience before a theme
Decide who will hold the pencil. A toddler needs one large animal per page with very thick lines. A seven-year-old can handle a scene with a background. An adult colorer who bought a mandala book expects fine detail and a lot of it. The audience decides the line weight, the amount of detail, the trim size and even the number of pages, so choosing it first prevents a theme that is drawn at the wrong level.
Then pick a theme narrow enough to be a coherent product. Dinosaurs for ages 4 to 8 is a coherent product; animals is a category. A narrow theme also makes the later steps easier, because the title, subtitle and keywords all follow from it. Do not use characters, franchises or brand names you do not own; that is the quickest way to have a book removed, and the content guidelines KDP publishes cover infringing content.
Step 2: plan the page list on paper
Write the list of scenes before you make a single image. For a dinosaur book that might be a jungle clearing, a volcano, a nest with an egg hatching, a river crossing and so on. Each entry should be a different composition, not a different animal dropped into the same pose. A reader who finds the same layout repeated twelve times will notice, and so will a reviewer.
Aim for variety in three dimensions: the subject (what is drawn), the framing (close-up or wide scene) and the density (some pages busy, some calm). Put the pages you are proudest of near the front, because that is what a buyer sees in the preview.
Step 3: pick the trim size, paper and page count
KDP offers all three of the common coloring-book sizes in its large paperback trims: 8.5 x 11 in, 8 x 10 in and 8.25 x 8.25 in. Letter size gives the largest drawing area and is the usual choice for children. The square size suits bold-and-easy adult books. Our guide to trim sizes goes through the trade-offs.
Paper matters for markers and for the spine. White paper is the default for black ink. The minimum is 24 pages for black ink on white paper and 72 for standard color. Most coloring books are one-sided, with a blank page behind each design so marker ink does not show through, which means a book with 40 designs has well over 80 pages once the title page, copyright page and blank backs are counted. Our guide to page counts shows the arithmetic.
Step 4: make line art that prints cleanly
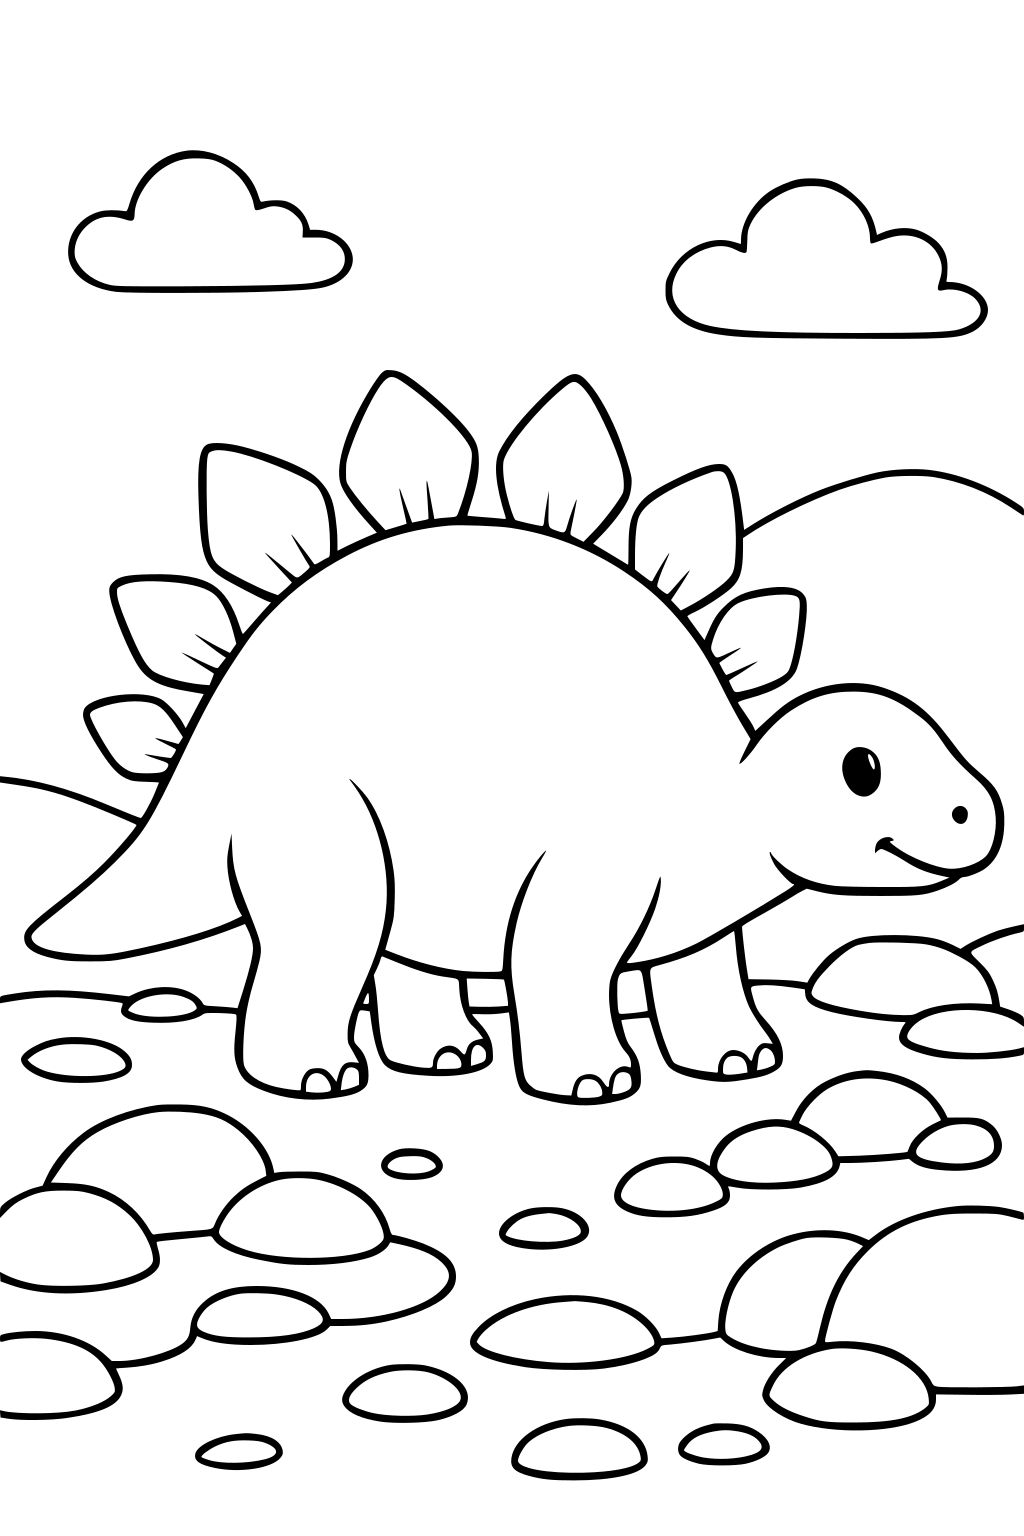
Printers reproduce pure black well and grey badly. Line art made with an image model often comes out with soft grey edges or faint shading, which prints as a muddy outline and invites a resolution warning. The fix is the same whichever tool you use: convert the drawing to pure black and white with a threshold, then check the result at full size. If you can turn the lines into vector paths, they stay sharp at any size and the resolution question disappears.
KDP asks for images placed at a minimum of 300 DPI. For a letter-size page without bleed that is 2,550 by 3,300 pixels. Keep every important line inside the margins, and keep the lines closed: a gap in an outline lets color escape and is the most common complaint about coloring pages. Check every page yourself. Image models can add an extra limb, a stray object or an element that does not fit the theme, and a book is judged by its weakest page.
Step 5: assemble the interior
The interior starts with a title page and a copyright page, then the designs. If the book is one-sided, each design sits on a right-hand page with a blank page behind it. Add your pen name or publisher name on the title page and the copyright year on the copyright page. The page count of the finished PDF, including every blank, is the number KDP counts and the number that sizes your spine.
Set the page size to your trim, or to the trim plus bleed if any art touches the edge. Without bleed, a letter book is 8.5 x 11 in; with bleed it is 8.625 x 11.25 in. Our guide to bleed and margins explains when each applies. Embed fonts, and export a single PDF with every page the same size.
Step 6: build the cover
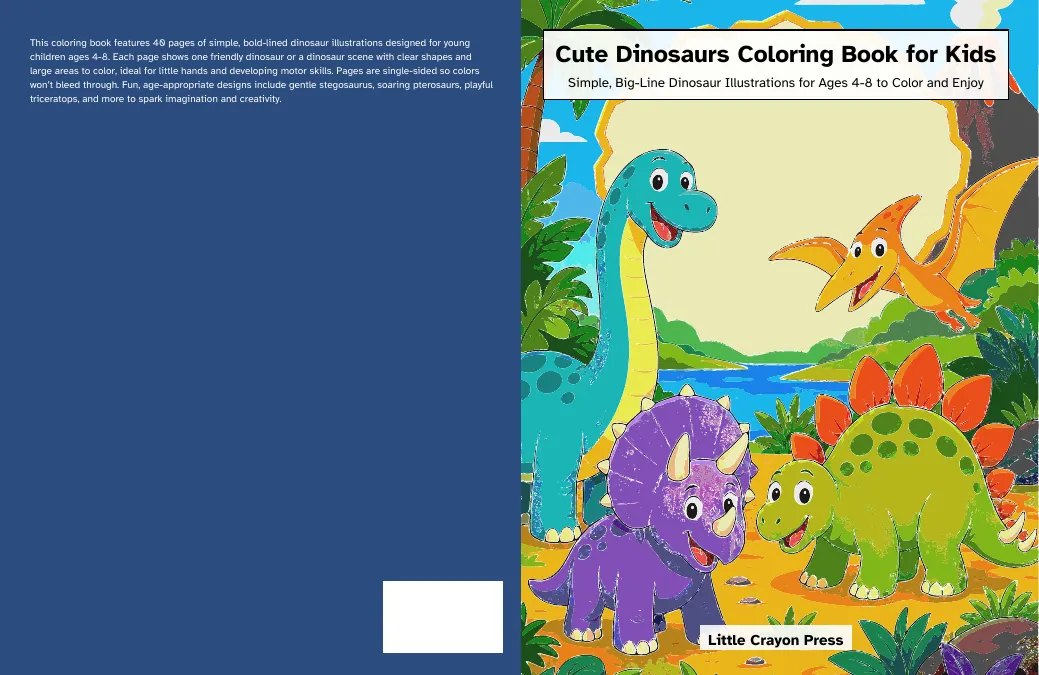
The cover is one PDF page whose width depends on your page count. Full cover width is bleed plus back cover plus spine plus front cover plus bleed, and the height is the trim height plus a bleed above and below. For a 8.5 x 11 in book of 100 pages on white paper, the spine is 0.2252 in and the full cover is 17.4752 x 11.25 in. The spine formula guide shows how to compute it for any page count and paper.
Do not put text on the spine unless the book has at least 79 pages, and keep 0.0625 in clear on both sides of any spine text. If you do not supply a barcode, KDP places one on the back cover automatically, so leave room for it rather than designing something important in that corner.
Step 7: write the listing and answer the declarations
KDP gives you seven keyword slots, two categories, a title, a subtitle and a description. Write the title and subtitle for the buyer first: who the book is for and what is inside, in plain words. Use the seven keywords for phrases a buyer would type that are not already in the title, and never use brand names, character names or claims like best seller.
When you publish, KDP asks whether the book contains AI-generated text, images or translations. Answer it honestly for the whole book. If a model drew the images, the images answer is yes; if it wrote the description, the text answer is yes. Our AI disclosure guide covers the wording. Coloring books are not usually classed as low-content by KDP, so do not tick the low-content box for one unless it truly is a blank notebook or planner.
Step 8: order a proof and check it in hand
Order a printed proof before you publish widely. Look at three things on the physical copy: whether the outlines are crisp, whether anything important is too close to the gutter where the pages bind, and whether the cover wraps correctly around the spine. Fix what you find, upload again and proof once more if the changes were large. A printed copy shows problems a screen preview hides.
Related free tool: Trim size and margins.
Questions
Do I need my own ISBN?
Not for a paperback coloring book. KDP can assign a free ISBN. If you want to appear under your own publisher imprint you can use your own; see KDP's ISBN help for the current rules.
How many pages should a coloring book have?
KDP's minimum is 24 pages for black ink. Beyond that, it depends on the audience and the price you want; our page-count guide shows how blank backs and front matter add up.
Can I use AI to make the pages?
KDP allows AI-generated content if you disclose it when you publish. You are responsible for the result: check the pages, avoid protected characters and answer the AI questions truthfully.
Sources
- KDP: Set trim size, bleed and margins (help topic GVBQ3CMEQW3W2VL6)
- KDP: Paperback cover creation (help topic G201953020)
- KDP: Content guidelines, including AI-generated content (help topic G200672390)
- KDP: Low-content books (help topic GGE5T76TWKA85DJM)